Friday, December 31, 2010

Gooey Prune Cake

Happy Birthday To Me!

Yep. I'm the big 3-2 today. An unremarkable birthday indeed, but still worthy of a cake, right? Maybe even an ooey-gooey subtly-spiced melt-in-your-mouth Americanized (and dare I say improved) version of sticky toffee pudding, every anglophile sweet-tooth's nirvana? Well, fortunately I get to answer my own questions here (it's my birthday after all) and my answer in oversized capital letters is: YES.

This is basically an adaptation of The Pioneer Women's Prune Cake recipe from a couple of Christmases ago. For a handful of reasons which I am about to describe, I was reluctant to share this recipe (and in fact documented the endeavor photographically only just in case, well aware the whole time that I was perhaps being overly ambitious). For the same about-to-be-described reasons, I encourage you to go ahead and just make The Pioneer Women's version without even consulting my recipe, since you probably aren't as super keen on buying and experimenting with alternative sweeteners as I am. And I'm sure the original recipe is perfect as is. I knew that when I read the recipe, and that's why I knew it would hold up against the experimentation I was contemplating when I made it. The experimentation involved using brown rice syrup instead of sugar to sweeten the cake. And being the skilled and dedicated researcher that I am, I learned that brown rice syrup is only about half as sweet as sugar, which means you need to use a good deal more of it to get a cake that will actually satisfy an anglophile sweet-tooth. I also read that the substitution of brown rice syrup for sugar requires an adjustment in leavening agents and a reduced amount of wet ingredients, and it might make the edges of your cake crispier than you'd like. I also used whole wheat pastry flour instead of regular flour. Needless to say, when I tasted the batter I was apprehensive - it tasted earthy and not especially sweet. And yet I plowed on, committed to an exploration of the world without sugar. Until I ran out of brown rice syrup, right before I made the caramel glaze (that soaks through the entire thing and makes it the amazing ooey-gooey cake that it is). The result: a perfectly not-too-sweet cake drenched in perfectly sweet caramel. Yes. I'm going to go ahead and call this cake perfect. I'm sure the Pioneer Woman's is awesome, but I might just find it too sweet after tasting this more subtle, subdued, gloriously gooey version. And that's why I'm posting about it, despite the fact that the recipe is totally weird. Sometimes weird makes for perfect. And anyway there are loads of weird recipes out there that pique my interest on a daily basis. I'm just joining the club by posting one myself.

Also it's my birthday.
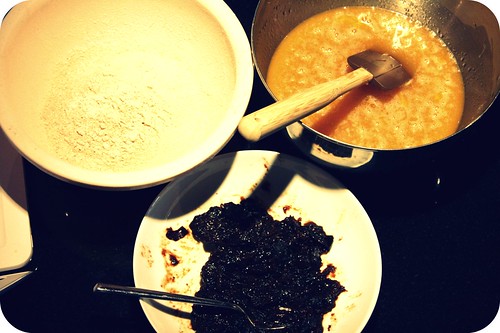
prune cake ingredients
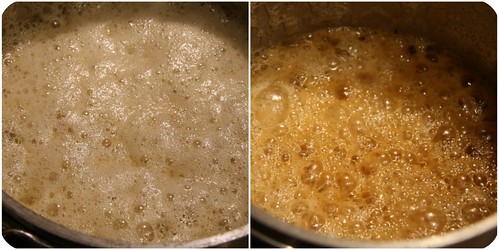
caramel
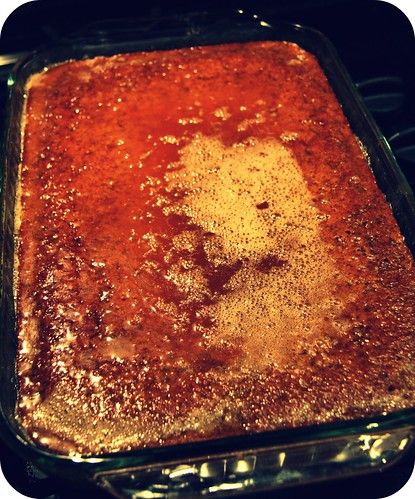
"glazed"
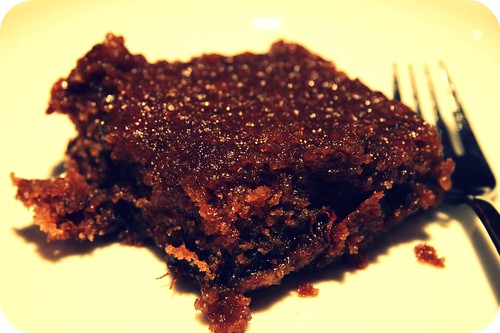
piece of gooey deliciousness

Do you see all that shiny magical gooeyness? It's PERFECT. Irresistible really. So freaking delicious. You should seriously make this. Brown rice syrup and all.

Gooey Prune Cake
Adapted from The Pioneer Woman
Yield: a 13X9" pan's worth - 12-20 servings?

For the cake
1 cup prunes (I'm sure dates would work fine too)
1 1/4 cups brown rice syrup
3 eggs
3/4 cup grapeseed oil
1 1/2 cups whole wheat pastry flour
1 1/2 teaspoons baking soda
1 1/2 teaspoons cinnamon
1 teaspoon allspice
1/2 teaspoon nutmeg
2/3 cup buttermilk
1 teaspoon vanilla

For the caramel
1 cup sugar
1/2 cup buttermilk
½ teaspoon baking soda
1 tablespoon brown rice syrup
1/4 cup butter
1 teaspoon vanilla

Preheat oven to 300 degrees. Grease a 9 X 13" baking dish.

Place the prunes in a small saucepan and cover with water. Bring to a boil over medium heat and cook until soft and mashable, about ten minutes. Remove from heat, drain water, mash the prunes and set aside.

In a large mixing bowl, combine the oil, brown rice syrup, and eggs. In a separate bowl, whisk together the dry ingredients. Pour the dry ingredients into the wet ingredients and stir a bit, until most of the flour is incorporated. Add buttermilk and vanilla and stir gently until just combined. Add the mashed prunes and stir gently to combine.

Pour batter into buttered baking dish and bake for about 40 minutes.

After the cake has been baking for about 30 minutes, combine all the caramel ingredients in a medium saucepan placed over medium heat and bring to a slow boil. Boil without stirring for 5 to 7 minutes - this is scary but it will be fine, just keep an eye on it and don't let it boil over - or until caramel starts to darken. As soon as the caramel gets to be a golden brown and thickens a bit but is still v. pourable, remove from heat. You ideally will have timed this to happen right when the cake is done.

Remove cake from oven and drizzle the caramel on top immediately. (Even though the cake didn't look particularly "sunken", my caramel pooled in the middle at first, but it soaked into the cake so promptly that I just put on my oven mits, grabbed both handles on the pan, and tilted it every which way until the caramel was evenly distributed.) Allow cake to cool and caramel to soak in for about a half hour before cutting it. Nice warm but no less nice cold. We are still enjoying it on day 4, unrefrigerated. I'll probably put what's left in the freezer tomorrow.

Tuesday, December 28, 2010

Damn Good Chili

Not much of a preface today. Just some chili. Some damn good chili, that is. Which doesn't need much of an intro, you know? There is nothing terribly unique or special about this chili except that it is exactly what you want chili to taste like and/or hope chili will taste like any time you order it on a menu or go to a chili cook-off (these do exist, although I've never been to one). Super traditional. Of the thick, sticks-to-yer-ribs variety. Moderately spicy (but easy to adjust in either direction on the spice-o-meter). Delicious on day 1 but improves (and gets spicier) with age. Great for a crowd: easily doubled or tripled (if you have a pot big enough). Perfect in snowy winters. Good over white rice, which is how I always ate chili growing up but I've since learned that this is not really the normal way to have chili. My mom is Colombian though, and Colombians like rice. Colombians are also v. good-looking.

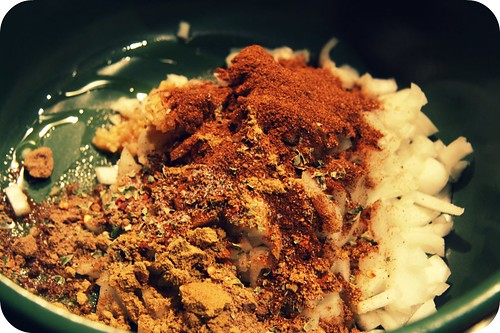
chili spices
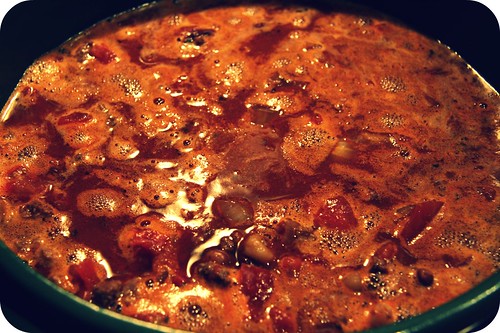
chili brewing
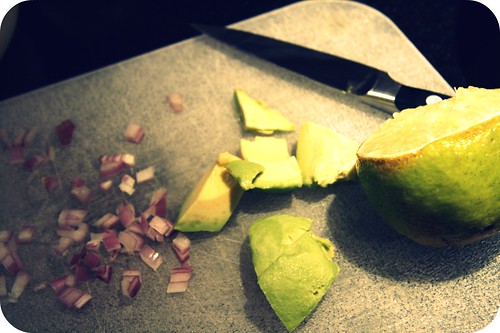
accoutrements
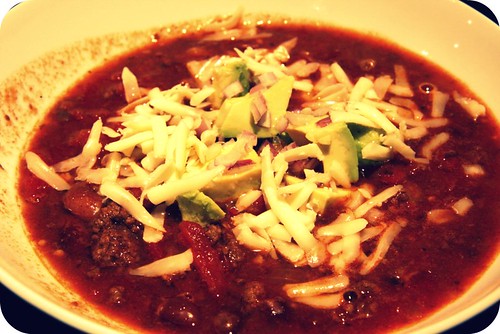
bowl o chili

The trick to damn good chili: a lot of damn good spices.

Damn Good Chili
Serves 4-5
From yours truly, heavily influenced by mi madre

1 tablespoon olive oil
About 2 cups finely chopped white or yellow onion (1 large or 2 small onions)
3-4 garlic cloves, finely chopped
2 heaping tablespoons chili powder
1 heaping tablespoon ground cumin (or more)
1 teaspoon ground coriander
1 teaspoon dried oregano
3/4 teaspoon salt
1/2 teaspoon red pepper flakes (more or less to alter spice profile)
1/4 teaspoon cayenne pepper (more or less to alter spice profile)
1 pound ground beef (or turkey or bison or whatever)
2 cups cooked, drained beans (kidney would be traditional option (2 cans); I like pinto beans and some hominy)
1 28-ounce can diced tomatoes with juice
2 tablespoons tomato paste
1 12-ounce bottle of beer (I've used EPA lately, but any beer will do)
Juice from one lime (2-3 tablespoons)

To serve: quartered limes, grated cheddar or jack cheese or queso fresco, avocado, Saltines, sour cream, fresh cilantro, minced red onion or shallot or scallion, plain cooked rice, corn bread, etc.

Whisk together all your spices in a mini prep bowl. Heat oil in a large Dutch oven over medium heat until shimmering. Add the onions, garlic, spices and salt, and cook, stirring occasionally, until the onions are softened and beginning to brown, about 5-7 minutes.

Increase the heat to medium-high and add the ground beef. (If you are doubling or tripling the recipe, just brown one pound at a time - that will make it go more quickly and smoothly and will prevent any burning of the spices.) Cook, breaking up the pieces with a heat-proof spatula or wooden spoon, until there is no pink left and the meat is browning nicely (about 3 minutes).

Add the beans, tomatoes with juice, tomato paste, and beer. Bring to a boil, then reduce the heat to low and simmer, covered, stirring occasionally, for an hour. Remove the lid and simmer for an hour more. If the chili seems to dry out at all during the two hours of simmering, add a little water. Remove from heat and stir in the lime juice. Taste and season with salt and pepper if necessary. Serve with any of the above-mentioned condiments.

Notes: Freezes well. Stays good in refrigerator for at least five days. Reheat thawed chili in microwave or on stove. Add a little water or beer to thin it out if necessary - the flavor will withstand this and it won't taste watered down at all. Promise.

Thursday, December 23, 2010

Peppermint Chocolate Crinkles

I'd be a horrible food blogger if I didn't squeeze in a Christmas cookie, wouldn't I? I mean, we foodies pride ourselves on the myriad things we can accomplish with some flour, sugar, and butter (or oil, on occasion - the occasion described herein, for instance), and what better time to do that than Christmas? Baby Jesus wouldn't have it any way. Right?

And with that food for thought...

(oh the puns I would try to make right about now if I were punny!) ...

I will just jump right into the description and adaptation of one of my favorite (definitely top three anyway) Christmas cookies. A cookie my mom made just about every holiday season and sometimes off-season as well, because she had five children and a mom has to choose her battles.

Allow me to introduce you to THE CHOCOLATE CRINKLE.

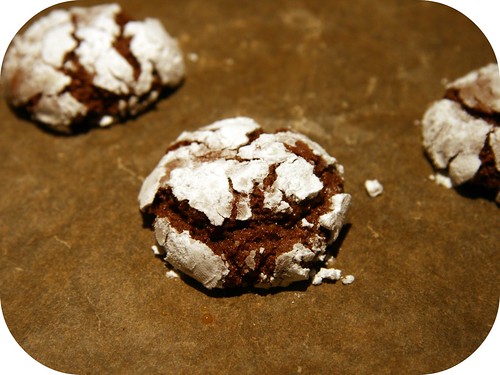
crinklicious

Or perhaps you've already met. She's cute, eh? Chocolatey. Cakey. Festive. Gooey if you do it right. An American favorite, really. From Betty Crocker's kitchen to yours. With love.

cooky book

(Btw, that there Cooky Book is just about the best cookbook ever if you're up for a cookie-baking frenzy. Some others might be more popular or more contemporary, they might not use eggs in their bar cookies that require chilling rather than baking, they might not glorify the shortcut called "boxed cake mix", but they're also not what you and me and everyone we know grew up on. And I prefer a cookie that brings me back a bit. Especially around the holidays.)

So what could I add to these little morsels of nostalgia?

What could make them more decidedly festive and delicious than real chocolate, two cups of sugar, four eggs, and a final coat of powdered sugar?

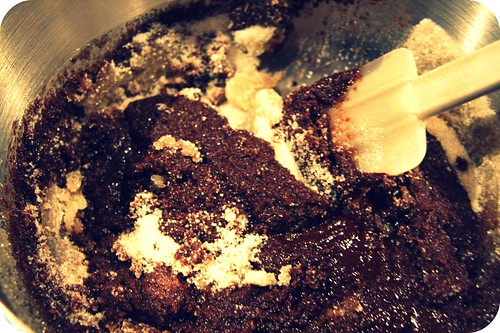
crinkles batter
eggs

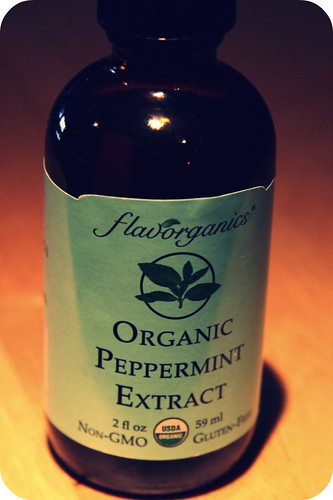
Well, not much, I assure you. But my in-laws have a thing for all things mint + chocolate, and I've kind of jumped on the bandwagon over the years. Plus I was out of all-purpose flour. So what I have to contribute to Betty Crocker's legacy today are the following: (a) whole wheat pastry flour; and (b) peppermint extract. They both worked out quite nicely.

peppermint extract

The result is something akin to the hypothetical offspring of your mom's chocolate crinkles and some After Eights. And now I am spending my Christmas Eve Eve sorting through years of intercontinental reminiscence.

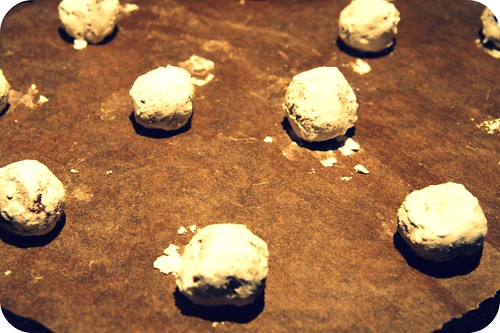
crinkles prebaked
baked crinkles

With the help of my little bite-sized enablers, of course.

Anyway. I think you'll really like these. Happy Christmas, darlings.

Peppermint Chocolate Crinkles
Yield: 5 dozen (if you actually make them bite-sized, per directions below)

1/2 cup grapeseed oil, or other mild-flavored vegetable oil
4 ounces unsweetened chocolate, melted
2 cups sugar
4 eggs
3/4 teaspoon peppermint extract
2 cups all-purpose or whole wheat pastry flour
2 teaspoons baking powder
1/2 teaspoon salt
1 cup powdered sugar

In a large mixing bowl, stir together the oil, unsweetened chocolate, and sugar. Add in the eggs one at a time, stirring well after each. Stir in the peppermint extract. Add the flour, baking powder, and salt. Stir until everything is well-mixed. Chill in the refrigerator for several hours or overnight. When ready to bake, preheat oven to 350 degrees. Lightly grease a baking sheet, or line it with parchment paper or a silpat. Using one teaspoon of dough at a time (this is small - like a walnut), form balls with your hands and roll in the powdered sugar until thoroughly coated. Place on prepared baking sheet and bake for 8-10 minutes. Allow to cool as long as you can and then devour, remembering all your Christmases past with a little happy tear in your eye.

Thursday, December 16, 2010

Savory Carrot Pie

Well, hello! And sorry for the gap. I don't even have a good excuse. I was snowed in for 24 hours and still didn't manage to share any of my recent foodie updates with you. I have a kind of lame excuse though, in lieu of a good one: I was waiting to make and document something sweet to be the topic of this post, as I thought we were due for a treat after two savories, a breakfast item, and a recycled post. (I am methodical, you see. I have a vision. I am quite inclined to be organized when there's an occasion for it.) To that end, I actually did make two sweet things. But here's the deal: the first one was a pineapple upside-down cake for a bridal shower that I had to leave early, so I never got to try it and felt accordingly ill-equipped to write about how awesome it was (even though it did look and smell quite nice). The second one was absolutely, indescribably, addictively wonderful, but it's already appeared several places on the internet - here and here, for instance - and I didn't feel I had anything to add to the movement, though joining was extremely edifying. (I encourage you all to make it. But heed what was said at the Smitten Kitchen site: it is like crack. Knowing my own weakness for a well-done sweet + salty treat, I made a quarter batch and am so glad I had such foresight. It came in handy where self-restraint eluded me.)

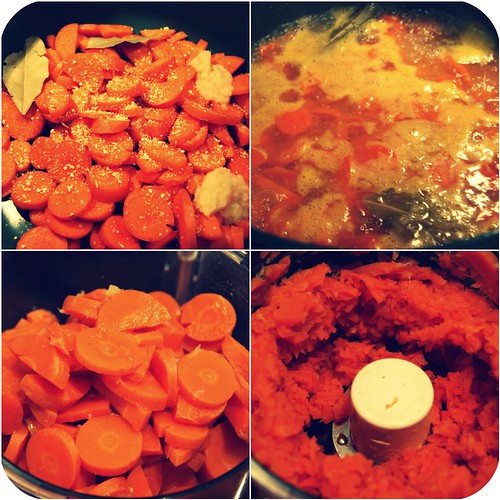
carrot prep
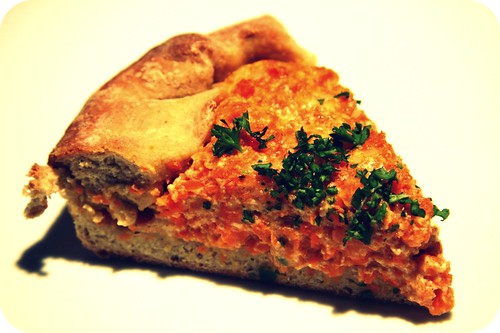
carrot pie slice

So here we are. I'm the one talking about savory carrot pie and you're the one wishing I'd had a slice of the pineapple upside-down cake.

The good news is this: this dish is so great! It's really quite hearty, definitely suitable for a dinner main, probably with a side salad or cup of soup, like you'd get with quiche at a restaurant. It's fairly easy to make, particularly if you have a food processor. (I love my food processors. And yes, I mean "processors", plural, because I have two: a small and a huge one. The small one was used here.) The pie crust involved my first foray into the world of yeast (I had to start easy because I have a phobia) and it went v. well! In fact, I made pizza last night with a different crust recipe (a comparably easy one) and, while that one will do for thin-crust pizzas in the future, the one described herein is much fluffier, and I am going to use it for pizza crust the next time I make pizza, because I sometimes really like a thicker crust and because it was really great in the carrot pie and I'm eager to see how it would hold up elsewhere. Other positives: it's healthy (lots of nutrients, a decent amount of protein for a vegetarian meal, and less than 600 calories in a serving equivalent to a quarter of the pie - which would be a big slice; we ate sixths); it's unique (kind of sweet, yet just savory enough to be aforementioned "dinner main"); it's seemingly adaptable (I suspect broccoli, cauliflower, sweet potatoes, or winter squash could easily replace the carrots); it's attractive (in a rustic kind of way); and babies like it (at least mine did).

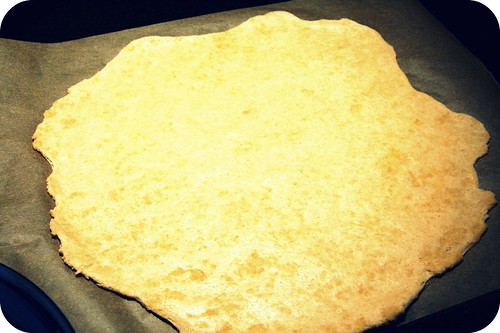
rolled crust
unbaked carrot pie
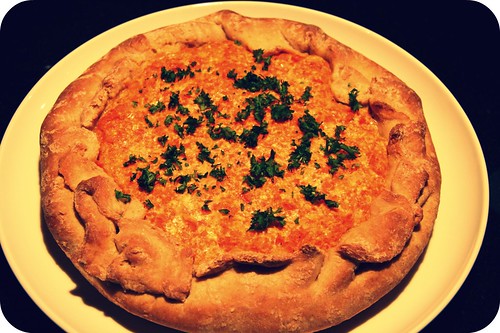
baked carrot pie

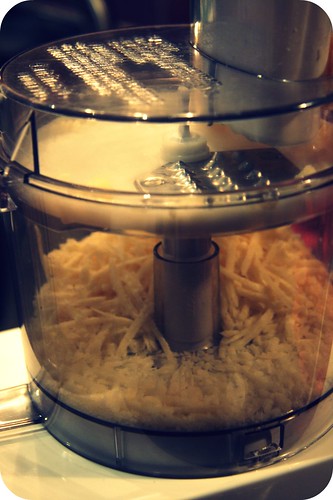
One quick tip before I get to the recipe, for those of you with a food processor: grate your parmesan in the food processor!

cuisinarted cheese

I shred vegetables and potatoes and fruit all the time using the grater blade, but was always afraid of trying cheese... until recently I was complaining about the length of time it took me to shred mozzarella for FOUR lasagnas I was making for a bridal shower (I know a lot of brides) and the victim of my rant, after listening patiently and nodding in empathy, suggested that I use a food processor. I took her advice and IT TOOK FIVE SECONDS. Literally. And then I just put the bowl and blade on the top rack of the dishwasher, so I can't even argue that the cleaning time cut against any saved grating time. (Go ahead and judge me. The blade hasn't dulled noticeably in 6.5 years.) I would suggest, however, if grating a softer cheese (like, say, mozzarella), placing it in the freezer for 10-15 minutes before putting it in the food processor.

And now to the recipe!

Savory Carrot Pie
Adapted from Almost Vegetarian, an odd little cookbook gifted to me by my mother when I left for college, at which time I was, fittingly, almost vegetarian
Yield: 4-6 servings

Pie Crust
1 teaspoon active dry yeast
1/3 cup lukewarm water
1/2 teaspoon sugar
3/4 cup all-purpose flour
3/4 cup whole wheat pastry flour
1 teaspoon salt
1 egg, lightly beaten
3 tablespoons buttermilk (or sour cream or plain yogurt)

Filling
3/4 pound carrots, scrubbed clean and sliced into 1/2" chunks
2 bay leaves
2 teaspoons grated fresh ginger (or jarred)
1 teaspoon salt
1 teaspoon lemon zest (I used this dried kind) (optional)
1 cup freshly squeezed orange juice (about 3 oranges for me)
2 cups water (approximately)
1/2 teaspoon cinnamon
1/2 teaspoon dried marjoram
Pinch freshly grated nutmeg
1 egg, lightly beaten
1 cup ricotta cheese
2/3 cup grated Parmesan (about 2.5 ounces)

In a small mixing bowl, stir together the yeast and water. In a larger bowl, combine the sugar, flours, and salt. Make a well in the center and add the egg, buttermilk, and yeast-water mixture. Stir with a wooden spoon to make a soft dough. Turn out onto a lightly floured surface and knead until smooth (just about a minute or two). Return the dough to the mixing bowl, cover with a light towel, and place in the warmest spot in your kitchen until it doubles in size, about 45 minutes.

While the dough is rising, start making the filling. First, juice your oranges. In a large saucepan, combine the carrots, bay leaves, ginger, lemon zest, orange juice, and salt. Add enough water so that the carrots are fully submerged. Bring the mixture to a boil over medium-high heat, cover, turn the heat down and simmer until the carrots are almost mushy, but not quite, about 20 minutes.

Now would be a good time to preheat your oven to 400 degrees.

Pick out the bay leaves, strain the carrots, and place them in the work bowl of your food processor. Puree in pulses so it doesn't become watery (you don't want the consistency of baby food, you want some chunks). Transfer carrots to a large mixing bowl and stir in the cinnamon, marjoram, nutmeg, egg, ricotta, and Parmesan. Stir until thoroughly combined. Set mixture aside, covered if the dough or your oven needs some time.

Once the pie dough has risen, roll out the dough until it is about 11-12" in diameter. It will be quite thin. Gently center the dough over a lightly greased pie dish (mine is 9" in diameter) and pile the filling inside. Fold the edges of the crust over and crimp them with your fingers (like in the above pictures). Place the pie in the oven and bake until the crust is deep golden and the filling is set, about 40 minutes. If the crust browns before the filling has set (as mine did), cover loosely with foil, lower the heat to 300 degrees, and continue to bake, checking on it every 5-10 minutes or so.

Allow to cool for about 10 minutes before slicing. Garnish with parsley or a little more freshly grated nutmeg.