
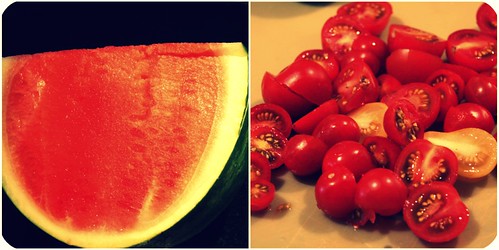
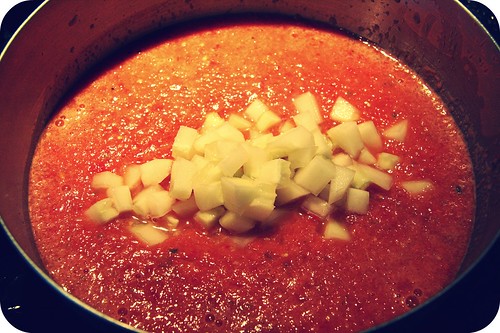
I've had this recipe just waiting to be shared for months. MONTHS. And I feel just terrible about that because it's delicious and, also, I invented the baja creamless crema all by myself - a rare, exciting event that I usually can't wait to talk about with you folks. But somehow the recipe and pictures just got stashed away and I went on with my life, making, eating, and writing about peach pies and watermelon gazpacho and spicy black bean burgers. So now I'm here to make things right. And your lives will all be better for me having done so.
Have I mentioned it's freaking HOT in Minnesota? Well, it is. Super balmy icky sticky hot, with a strong gust of hot wind gracing us with its presence just for good measure. Ugh. I have had the privilege of learning, however, on account of this terrible heat wave, that while Minnesota may be the Land of 10,000 Lakes, my little subsection of Minnesota - namely, Minneapolis - just happens to be the Land of 61 Wading Pools. This has come in handy lately. Especially because I think lakes are kind of gross.
The one good thing about hot weather, for some people, myself not included, is that it is conducive to grilling. The recipe below includes instructions for oven-broiling the fish for the fish tacos, but if you have the equipment and skills, I strongly encourage you to grill it. That would make what is an already delicious fish taco meal even more awesome. In fact, if you have a grill, do you want to just invite me over and we can have these tacos at your house? I'll do everything except the grilling. Because I lack the equipment and skills, sadly.

On to the recipe!
Yay!
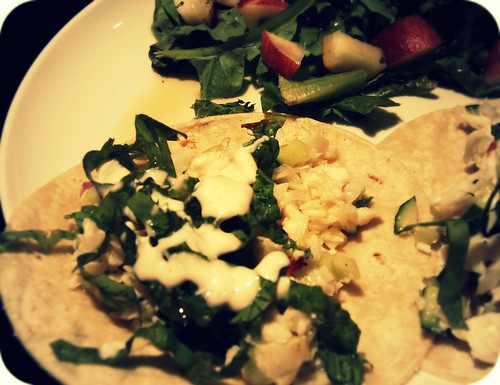
Fish Tacos with Baja Creamless Crema
Fish taco part adapted from Essentials of Healthful Cooking (a great cookbook published by Williams-Sonoma); crema from me and my brilliant culinary mind and a strong desire to not waste coconut milk
Yield: 4-6 tacos; 2-4 servings
Fish taco mixture
1/2 lb. thick, meaty fish fillet (I used Pacific halibut, approved by the Monterey Bay Aquarium; other good ones would be albacore tuna or Alaska wild salmon)
Seasoned salt & pepper
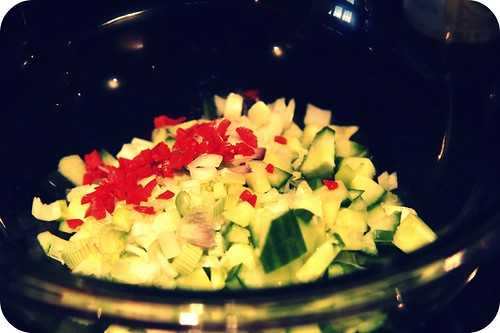
1 small cucumber, diced
2 tablespoons thinly sliced green onion or shallot
1 teaspoon seeded, minced jalapeño or spicy red chile (1 small or 1/2 a medium jalapeño)
1/2 teaspoon grated lemon, orange, or lime zest
2 tablespoons fresh lime juice
Baja Creamless Crema
1/4 cup plain yogurt
1/4 cup coconut milk (don't use lowfat - would be runny and crappy)
1 tablespoon lime juice
1/4 teaspoon salt, plus more to taste
1/4 teaspoon cumin
1/8 teaspoon cayenne or black pepper
For serving
4 corn tortillas (or 8 if you like to double layer them, like I do)
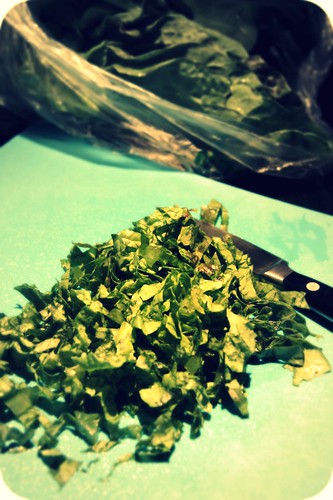
1 cup loosely packed, thin-chiffonade-cut romaine lettuce (like in pretty picture above)
Optional garnishes/additions: chopped fresh tomatoes, cilantro, lime wedges, black beans
Preheat oven to 425 degrees. Remove skin from fish and season the fish on both sides with salt and pepper. Place the fish in a baking pan in the oven and bake until slightly translucent in the very center at the thickest part, allowing slightly less than 10 minutes per inch of thickness.
Transfer fish to plate and let cool to room temperature. (The fish will continue to cook a bit on the plate and will be opaque by the time it is cool enough to handle.)
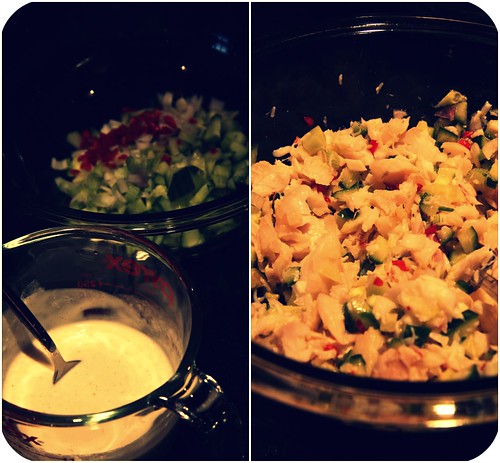
Meanwhile, in a bowl, mix together the cucumber, green onion or shallot, jalapeño or red chile, zest, and 1/4 teaspoon salt. Flake the cooled fish fillets and then add them to the vegetable mixture, along with the lime juice. Toss gently to combine. Allow the mixture to sit for a few minutes so the flavors will marry.
To make the baja creamless crema, mix all ingredients together well and allow to sit for a while. Taste and add more spices, salt or pepper as you see fit.
To assemble tacos, warm the tortillas in the still-semi-hot oven for about 10 minutes, then fill with the fish-veggie mixture, romaine, and garnishes/additions of your choice, and then drizzle generously with the baja creamless crema. A side salad or some beans and rice chilled or at room temp would make this a perfect summer meal.
Note: the baja sauce can be made ahead and stored in the refrigerator. It also makes for a great salad dressing the next day, or a tortilla chip dip. (You will likely have some left over.)

Enjoy!

